The DS18B20 is a versatile and widely used temperature sensor that has become a popular choice among electronics enthusiasts and professionals alike. In this comprehensive guide, we will delve into the intricacies of the DS18B20 temperature sensor to provide more useful information for you.
What is DS18B20
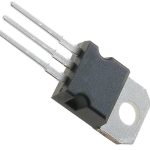
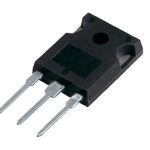
DS18B20 is a digital temperature sensor that uses the 1-Wire protocol to communicate with microcontrollers or other devices. It is commonly used for measuring temperature in various applications.
DS18B20 Pcb Symbol and Footprint


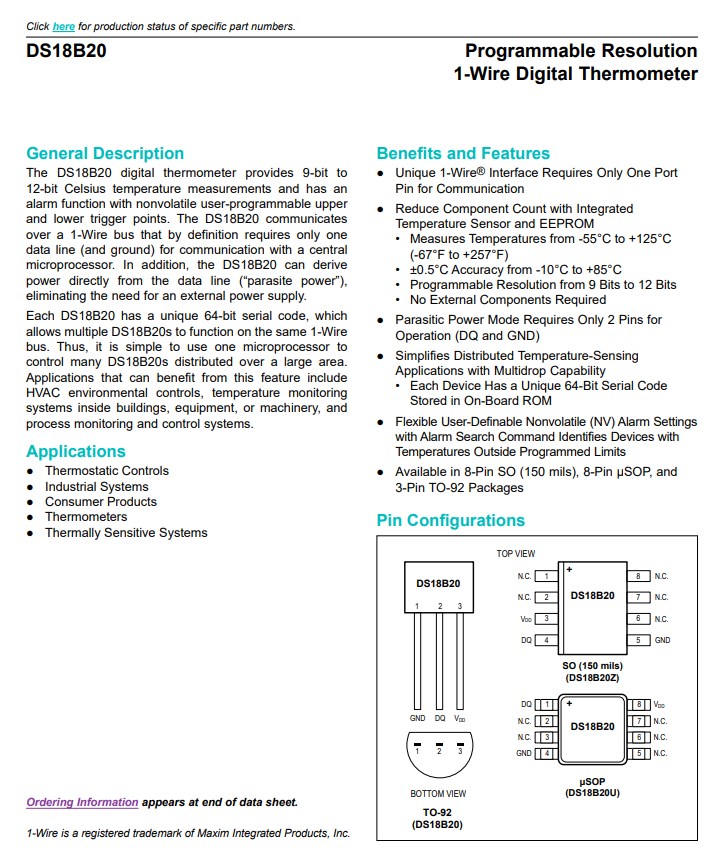
DS18B20 Datasheet
You can click this picture below to check the datasheet pdf!
DS18B20 vs DS18B20+
The DS18B20+ offers two power options: external power through the VDD pin or parasite power mode using the data line. However, the DS18B20+PAR is only capable of being powered through parasite power mode and does not have a VDD pin.
Parasite power mode works by utilizing an internal capacitor that charges when the 1-Wire signal (connected to the DQ pin) is held high. This charged capacitor is then used to power the device. It’s important to note that if the 1-Wire signal is held low for an extended period or if there is a heavy load on the 1-Wire signal, the charge held by the internal capacitor may discharge sufficiently, causing the sensor to reset.
It is worth mentioning that the transfer distance for a parasite-powered device is significantly lower compared to 1-Wire ICs that are externally powered through the VDD pin.
How does DS18B20 work
DS18B20 works by converting temperature into a digital format that can be easily read by a microcontroller. It utilizes the 1-Wire protocol, which means that it requires only a single data line for communication. The sensor also has its own unique address, allowing multiple sensors to be connected to the same data line.
How to test DS18B20
To test DS18B20, you can follow these steps:
- Connect the DS18B20 sensor to your microcontroller or development board.
- Write a code that reads the temperature value from the sensor.
- Upload the code to your microcontroller.
- Monitor the output to check if the temperature readings are accurate and within the expected range.
How to use DS18B20 waterproof temperature sensor
To use the DS18B20 waterproof temperature sensor, you can follow these steps:
- Ensure that the sensor is properly sealed and waterproofed.
- Connect the sensor to your microcontroller or development board using the 1-Wire protocol.
- Write a code to read the temperature values from the sensor.
- Upload the code to your microcontroller.
- Place the sensor in the desired location where you want to measure the temperature.
- Read the temperature values from the sensor through your microcontroller.

How to calibrate DS18B20
Calibration of DS18B20 involves adjusting the readings of the sensor to match a known reference temperature. Here are the steps to calibrate DS18B20:
- Step 1: Place the DS18B20 sensor in a controlled environment with a known temperature.
- Step 2: Measure the temperature using a reliable reference thermometer or temperature source.
- Step 3: Compare the readings of the DS18B20 sensor with the reference temperature.
- Step 4: Adjust the code or calibration parameters to compensate for any discrepancies between the sensor and the reference temperature.
- Step 5: Repeat the process for multiple temperature points to ensure accurate calibration.
How to connect DS18B20 to Arduino
To connect DS18B20 to Arduino, you can follow these steps:
- Connect the VCC pin of DS18B20 to the 5V pin of Arduino.
- Connect the GND pin of DS18B20 to the GND pin of Arduino.
- Connect the DATA pin of DS18B20 to a digital pin of Arduino (e.g., pin 2).
- Add a pull-up resistor (4.7kΩ) between the VCC and DATA pins of DS18B20.
- Write a code using the OneWire and DallasTemperature libraries to read the temperature values from the sensor.
How to connect DS18B20 to Raspberry Pi
To connect DS18B20 to Raspberry Pi, you can follow these steps:
- Connect the VCC pin of DS18B20 to the 3.3V pin of Raspberry Pi.
- Connect the GND pin of DS18B20 to the GND pin of Raspberry Pi.
- Connect the DATA pin of DS18B20 to a GPIO pin of Raspberry Pi (e.g., GPIO 4).
- Add a pull-up resistor (4.7kΩ) between the VCC and DATA pins of DS18B20.
- Enable the 1-Wire interface on Raspberry Pi by editing the /boot/config.txt file.
- Use the terminal or write a Python code to read the temperature values from the sensor using the w1thermsensor library or the sysfs interface.
Conclusion
Whether you are a hobbyist looking to build your own temperature monitoring system or a professional seeking reliable temperature sensing solutions for your industrial project, the DS18B20 is an excellent choice. Its ease of use, robustness, and accuracy make it a go-to option for temperature measurement needs.